


Welcome to Roguetoad27’s NR2003 Graphics Guide. This simple walkthrough will help you get your NR2003 experience to be as good looking as it can get! It’s been over a decade since the game came out but that doesn’t mean there aren’t ways to squeeze out all the eye candy you can.
For this guide, I will be installing a clean installation of NR2003. Keep in mind that you don’t need to reinstall the game or anything, I’m just making this guide from a new installation of NR2003 so that the changes are easy to see. For this guide, I’ll be using Bullring Motorsports’ Gen6BR mod, and I’ll also be using my own Daytona Eyjix 3.0 track (without the reflection update). You don’t need to obtain either of these, they’ll be used because the Gen6BR mod is very popular and because Daytona Eyjix 3.0 provides me with a couple of good screenshots.
First, I’ll be installing NR2003 on my computer. My computer has Windows 8 64-bit installed. The computer I usually use for NR2003 gaming/modding is also on Windows 8 64-bit and I’ve had no issues there yet. [I ran the NR2003 setup and encountered no problems. Then I installed the 1.2.0.1 patch, available on many NR2003 sites. Lastly, I installed the Gen6BR mod and my Daytona Eyjix 3.0 track. I do NOT use no-cd patches as I’ve experienced many issues in various games with them.]
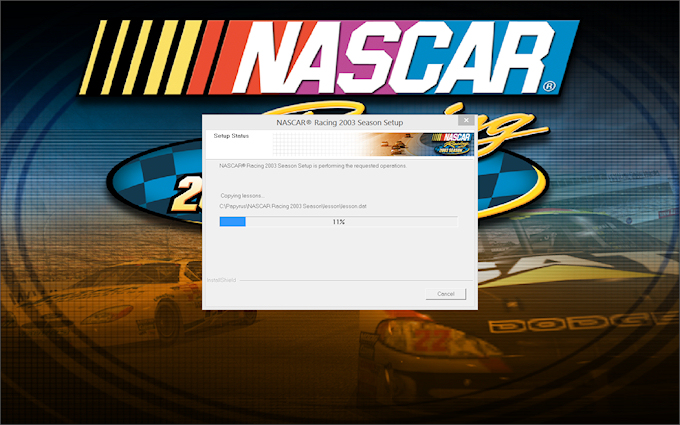
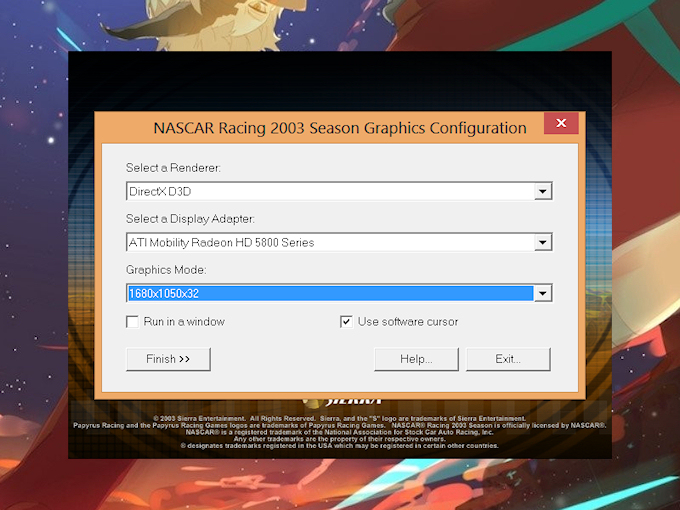
All right, so you’ve installed NR2003, patched it up to 1.2.0.1, and maybe you’ve copied some tracks/mods into the game. Now the most important step: start NR2003 to initiate the 3D configuration. Make sure you select your native resolution, that is the intended resolution of your monitor/screen. In the case of the alternate computer I’m using here, it’s 1680×1050. For best results, select a 32-bit color option, such as 1680x1050x32. The test will complete and NR2003 will run.
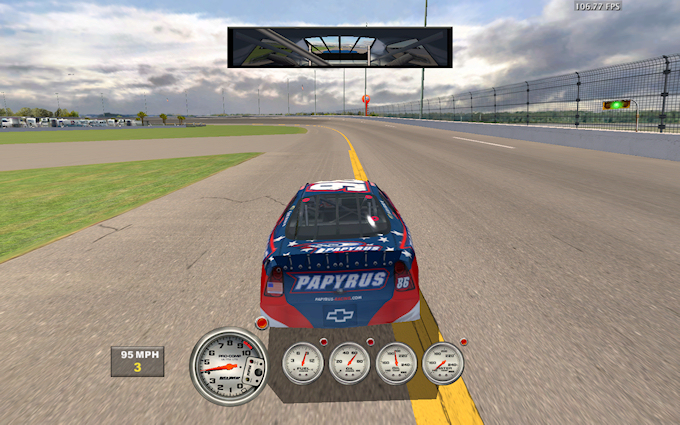
Upon entering the game for the first time, I turned up all the Graphic options, set visible cars to 42 ahead, 5 behind, and left everything else in the default settings. You CAN change anything you want, this will not affect the changes we will be making, so feel free to modify sound settings or whatever. I took the default cup car straight to the default Daytona track in Single Race and did a couple of laps. I had no issues whatsoever. Here’s a screenshot of NR2003 with no changes at all, as I first ran it.
Now it’s time to get to business. First of all, navigate to your NR2003 installation directory, mine is “C:PapyrusNASCAR Racing 2003 Season“. Once you are there, open up the “core.ini” file. I used Notepad to open it (right-click > open with > Notepad). With “core.ini” open, search for the line labeled “[FileLRUCache]”. I used ctrl-f to open the search box and pasted the text. You should find a line that looks like the following.
[FileLRUCache]
CacheSize=4194304
Simply enough, add a “1” before the number after “CacheSize=”. It should now read:
[FileLRUCache]
CacheSize=14194304
There is another modification that can be made in this file, one that affects memory, simply find the line “MaxBlockSize=” under the “[Memory]” header and replace the value with “MaxBlockSize=524288“. This is a safe memory value that will avoid crashes, many people have tweaked it to higher values but I have maximum performance and no issues with this number. Also, a few lines below that is the line”PoolSize=“. Change this also to “PoolSize=524288“. In my case, this was already correct.
You can now save and close the “core.ini” file. Next, let’s go over to the render ini file. Depending on your 3D configuration, you should have a “rend_ogl.ini“, “rend_d3d.ini“, or “rend_dxg.ini” file in your NR2003 directory, the same place where you found the “core.ini” file. Open the file you have, once again using notepad.(Note: if you update your video card drivers a lot, like I do, then NR2003 may run that 3D configuration test when you update. If this is the case, the changes you make to your render file may need to be done every time you update, but ONLY the changes to the render file. I do have to do this when I update my video card drivers.)
When you have opened up your render ini file, search for the following: “TextureSetSize=”. This line will be followed by a number generated by the 3D configuration test. You can calculate the exact number you should have by going to http://bigdonlinemotorsports.com/NRgtweak.php and typing in your display information. Or, you can also set the value to “-1”, which according to a deeper explanation of these changes, http://www.simracingdesign.com/nr2003-general-discussion/44123-nr2003-blurry-graphics-explained-informative.html, will set the value automatically. I’m going to change the number after my TextureSetSize line, which is “24081408” to “-1”. Also, no matter what your display setup is, change the line above that, “AnisotropicLevel=”, to “AnisoTropicLevel=8”.
AnisotropicLevel=2
TextureSetSize=24081408
I changed this to:
AnisotropicLevel=8
TextureSetSize=-1
This is the state of the game now:
Now it’s time to modify just one more file. In the NR2003 directory, go to the “players” folder. Find the folder that belongs to your profile, by default it’s called “Player_The“. Open the folder and then open the “player.ini” file. In here, search for the line “texture_quality=-1” and simply change it to “texture_quality=100”.
texture_quality=-1
Change this to:
texture_quality=100
And… now is my favorite part. Your NR2003 game now looks as good as it’s going to get… without outside help. Now it’s time to refer to your graphics card settings. It’s very likely that in your computer, your graphics power is being fueled by either NVIDIA or AMD/ATI technology. Right-click your desktop background, in the context menu, do you get the option “NVIDIA Control Panel” or “Catalyst Control Center“? This is an easy way to find out which you have.
In my case, I have an AMD ATi Radeon card, so I have something called the catalyst control center. Unfortunately, I don’t have the NVIDIA control panel to show you, but the procedure for the following is very similar so I hope NVIDIA users understand my steps here.
First, open up your control panel as I mentioned before. There may also be a tray icon. Once inside, I had to click the “Preferences” button on the top-right and switch to “Advanced” mode. Here, many more tabs showed up on the left. Using the tabs go to “Gaming“, and then “3D Application Settings“. The NVIDIA control panel is similar.
Now, in the Application Profiles section, make sure the drop-down says “<<New Application>>” and click “Save“. This will open a dialog for you to find your game. Navigate to the NR2003 directory and select “NR2003.exe“. You’ve created a default profile now for NR2003. In the same 3D Application Settings window, click the drop-down again and select “NR2003.exe”. Now you can modify the settings for the game; these settings override those of the game and let you turn on some great functionality.
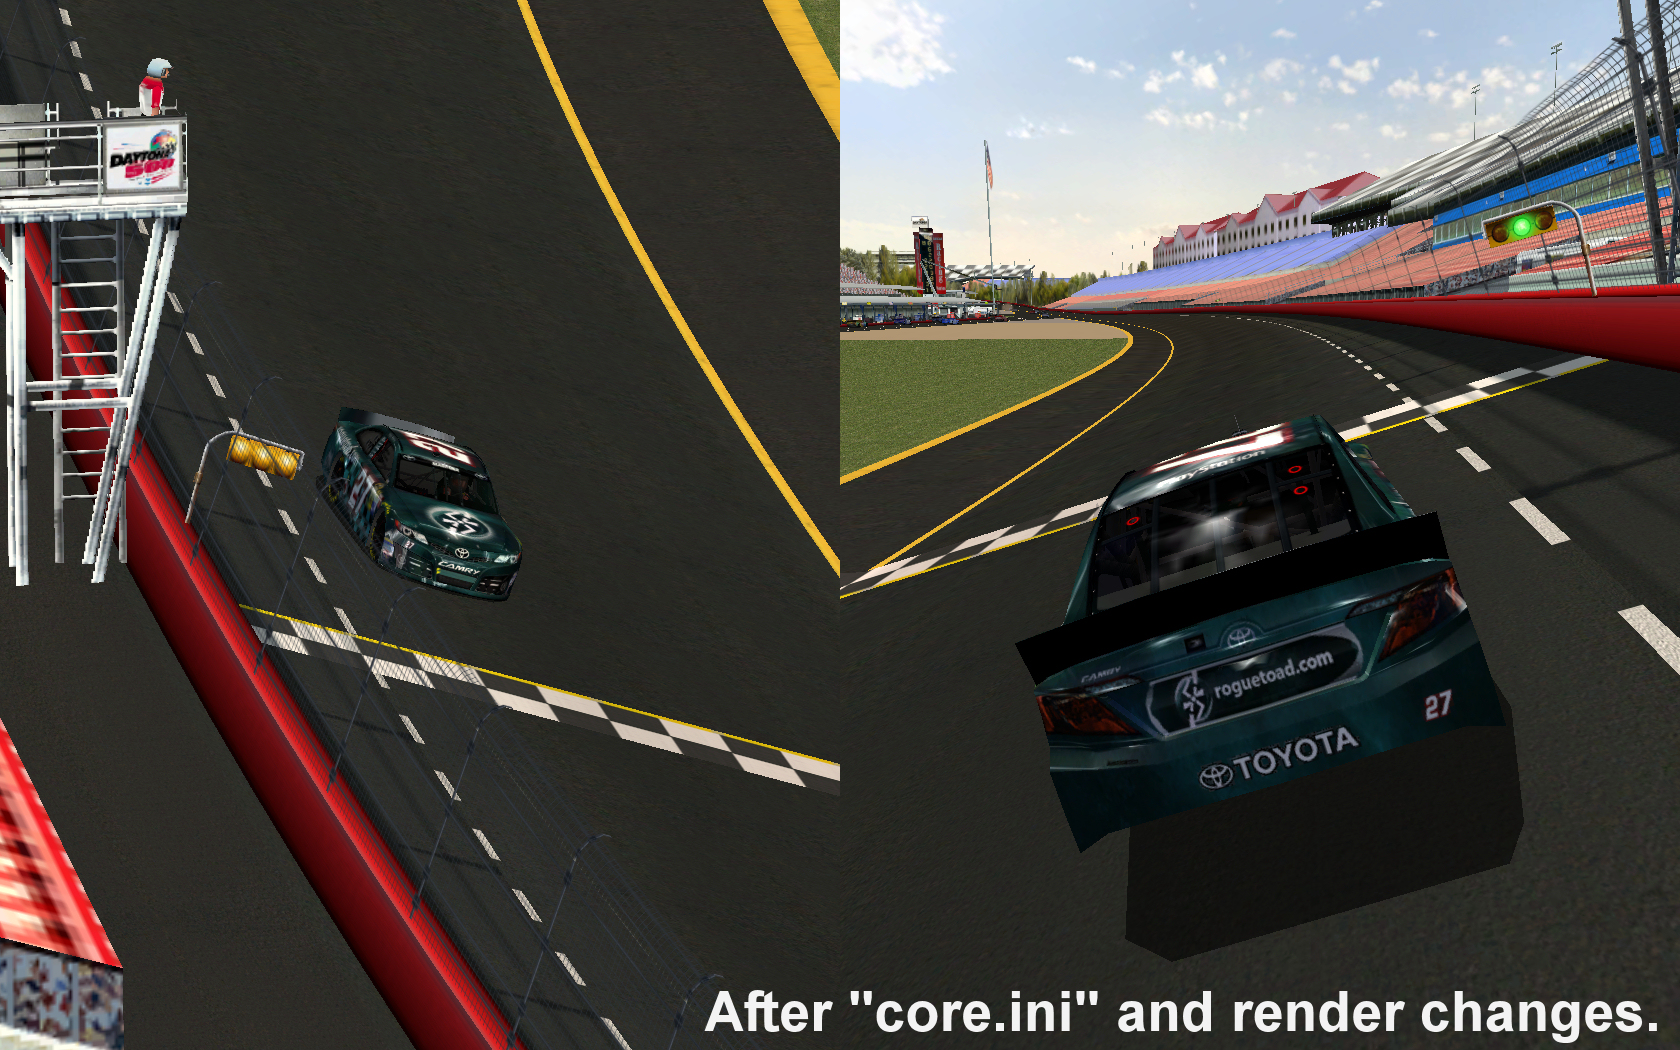
The first section, called “SMOOTHVISION HD:Anti-Aliasing“, lets you override the games filtering for, as some refer to them “jaggies”, or jagged edges and sharp ends. This WILL affect your performance and I like to test with each value. Uncheck the “Use application settings” box to enable the control. Now move the control to the right until it says “8x“. This will vastly increase your anti-aliasing. Here’s a look.
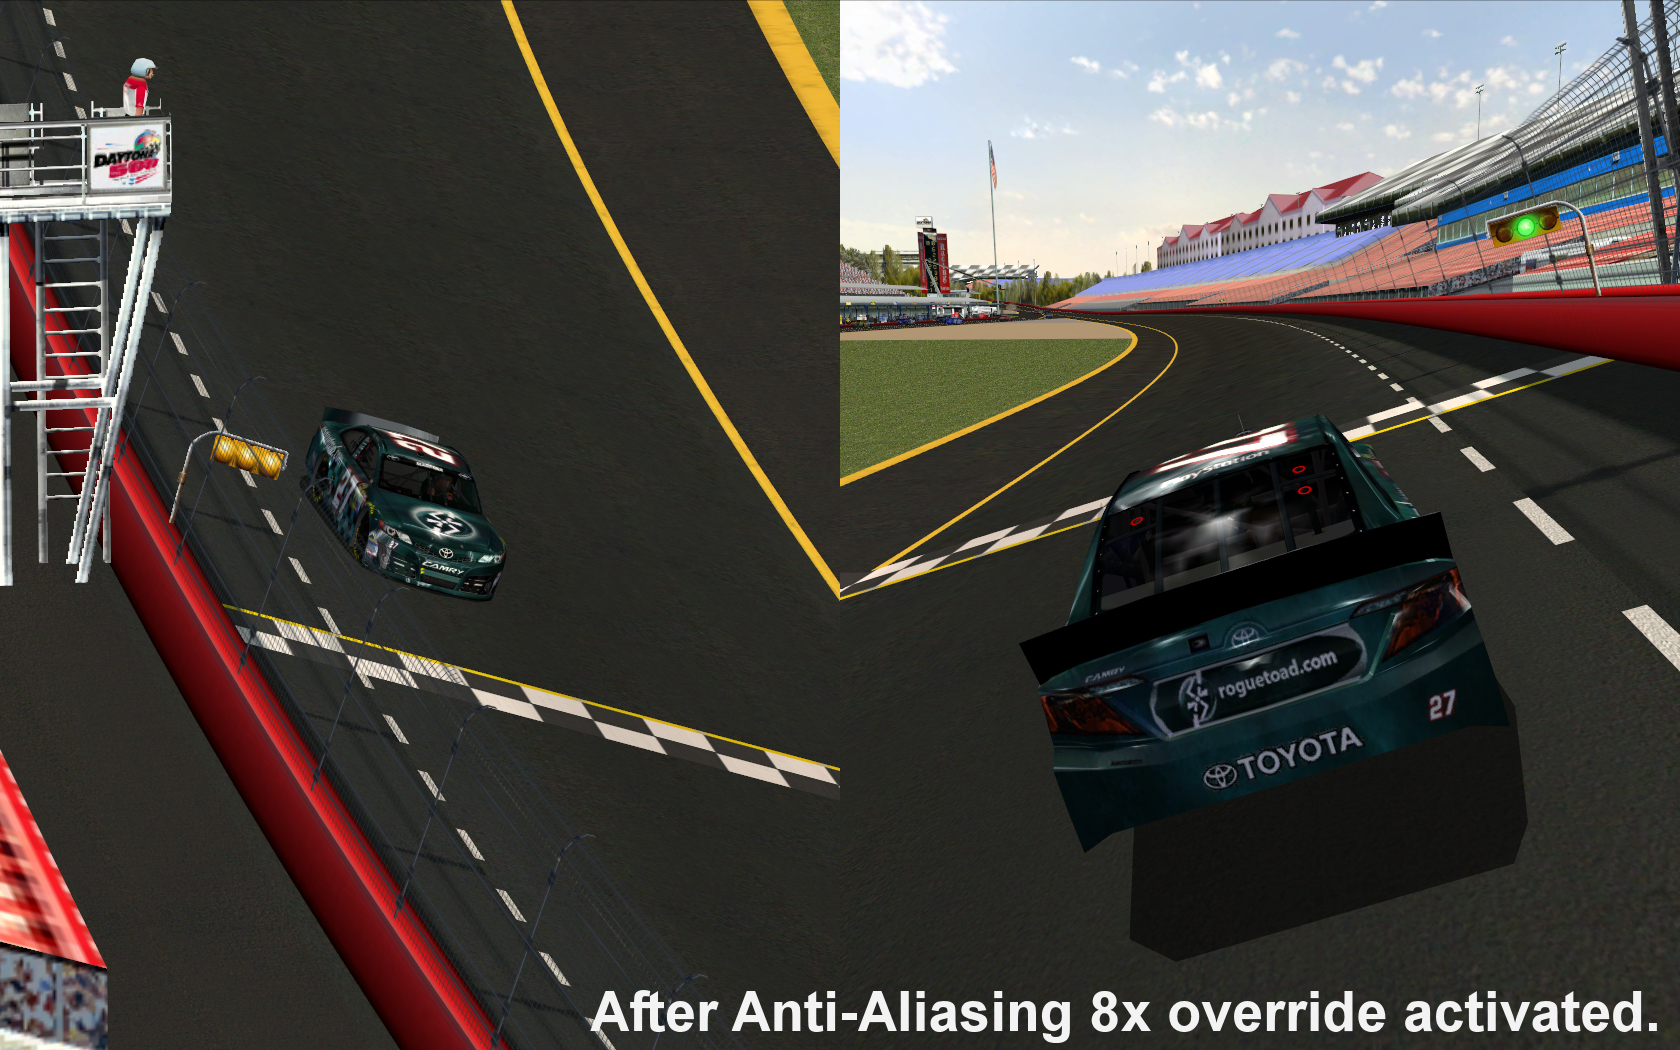
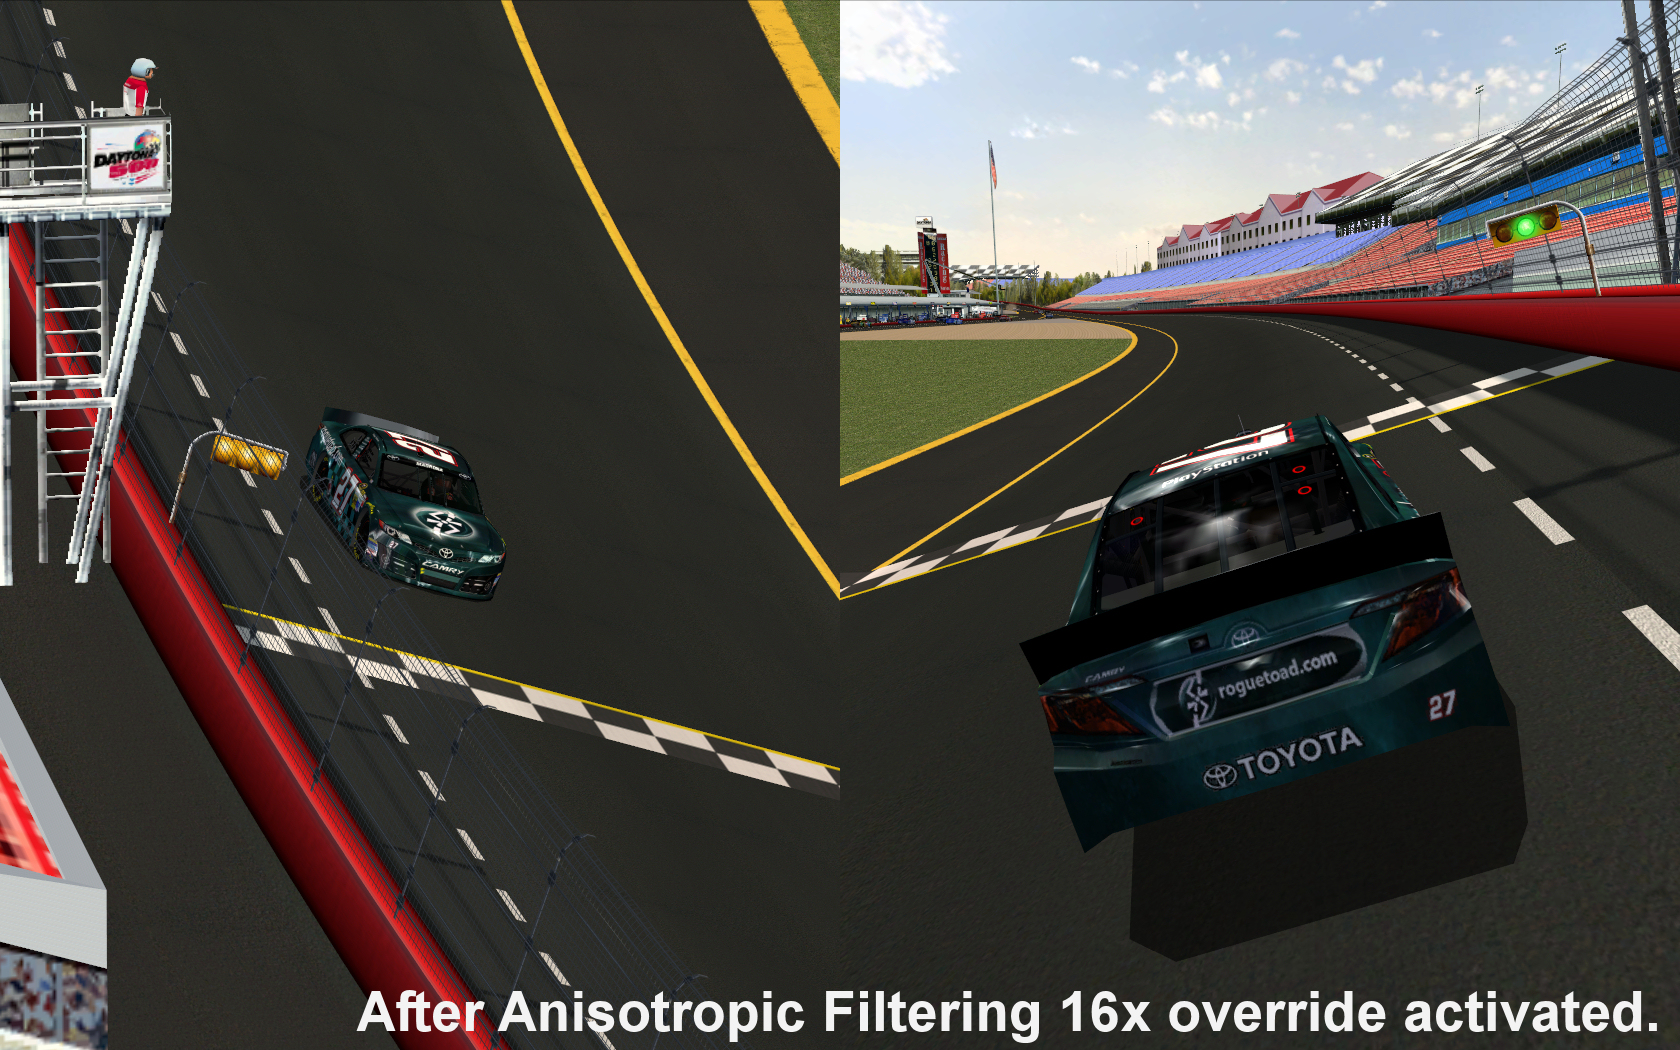
The difference is immense, and it shows while driving quite clearly. That is my favorite modification to make, but there’s more. In the settings window, where you modified the Anti-Aliasing, go to the next section labeled “SMOOTHVISION HD:Anisotropic Filtering“. Once again, uncheck the “Use application settings” box and crank it up! I took mine to “16x“. For me, this had less of an effect on performance. In fact, both changes together caused a frames-per-second drop that was very, very minimal. I lost, on average, 5 FPS, and I started with about 100 on average. IMPORTANT: Anti-Aliasing has an exponentially heavy performance effect on mid to low end computers. You may encounter drastic framerate drops with each level of Anti-Aliasing. Start with 2x and wind up until you find a good balance between performance and quality. You may need to avoid Anti-Aliasing completely on certain systems. If this is the case, you can still try Anisotropic Filtering alone.(Note that the effect is increased with cars, so test out these changes in fields that you usually drive in. I always test with 43 car fields to make sure my performance is satisfactory). Here are some shots of the game with 8x Anti-Aliasing and now, 16x Anisotropic Filtering.
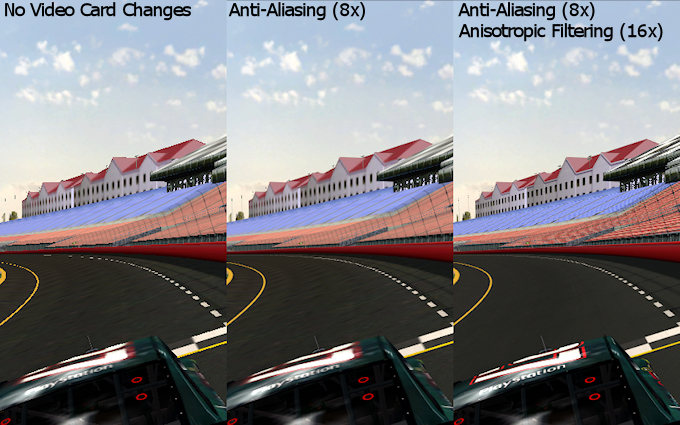
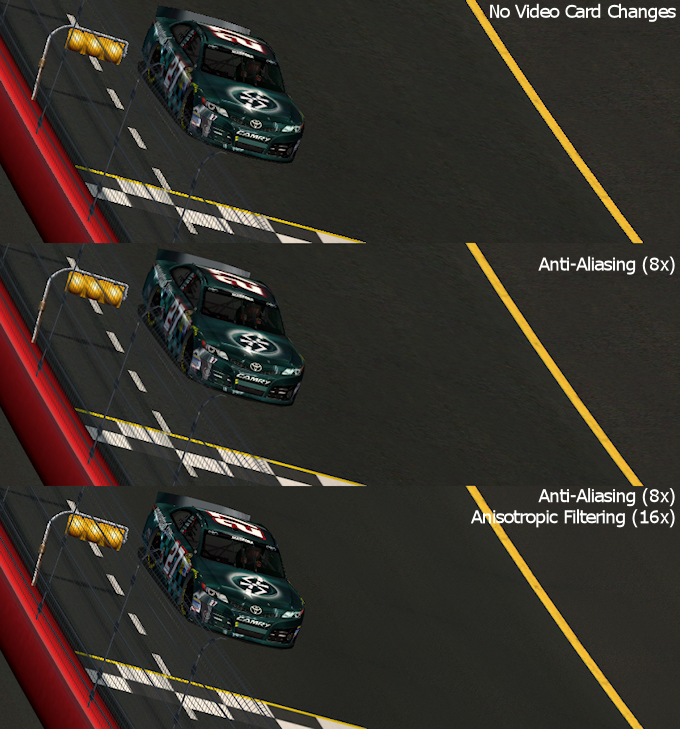
Here is a direct look at the differences:
If your performance is not satisfactory, simply delete the profile you created or change any override settings back to “Use application settings”.
Believe it or not, that’s it! Those changes are what I do to my NR2003 installations and, though I’m sure there are other tweaks and changes that can be made, I think this is a perfect way to play NR2003. All of the tracks, cars, and mods look great and any preview images you’ve seen me post have been made with these settings. I hope that this guide helped you improve your NR2003 experience!